So, you can't see my pictures unless you are logged into my account. crazy I know!!
new to this blogging thing....seems there are many kinks to work out...
Saturday, February 26, 2011

Wednesday, February 23, 2011
Tile goes up...
Cutting around the individual tiles was not my job :-) thank goodness!!
Did I mention we didn't cook for a week!
But the work is starting to pay off!
A work STILL in progress....JK! it really didn't take that long after the work began :-)
Not finished yet, but getting there.
I would have to say that the tile looks great with the granite!
Top to Bottom
Navigating the kitchen became a game :-)
And then....we started the tile installation....
Kitchen Re-do From Top (new lights) to Bottom (new floors)
The only light in this room when we moved in was the previous light that would be where the hole in the ceiling is now.
I can't decide if I want to add another can light, or fill in the hole :-)
Island Construction is finished :-)

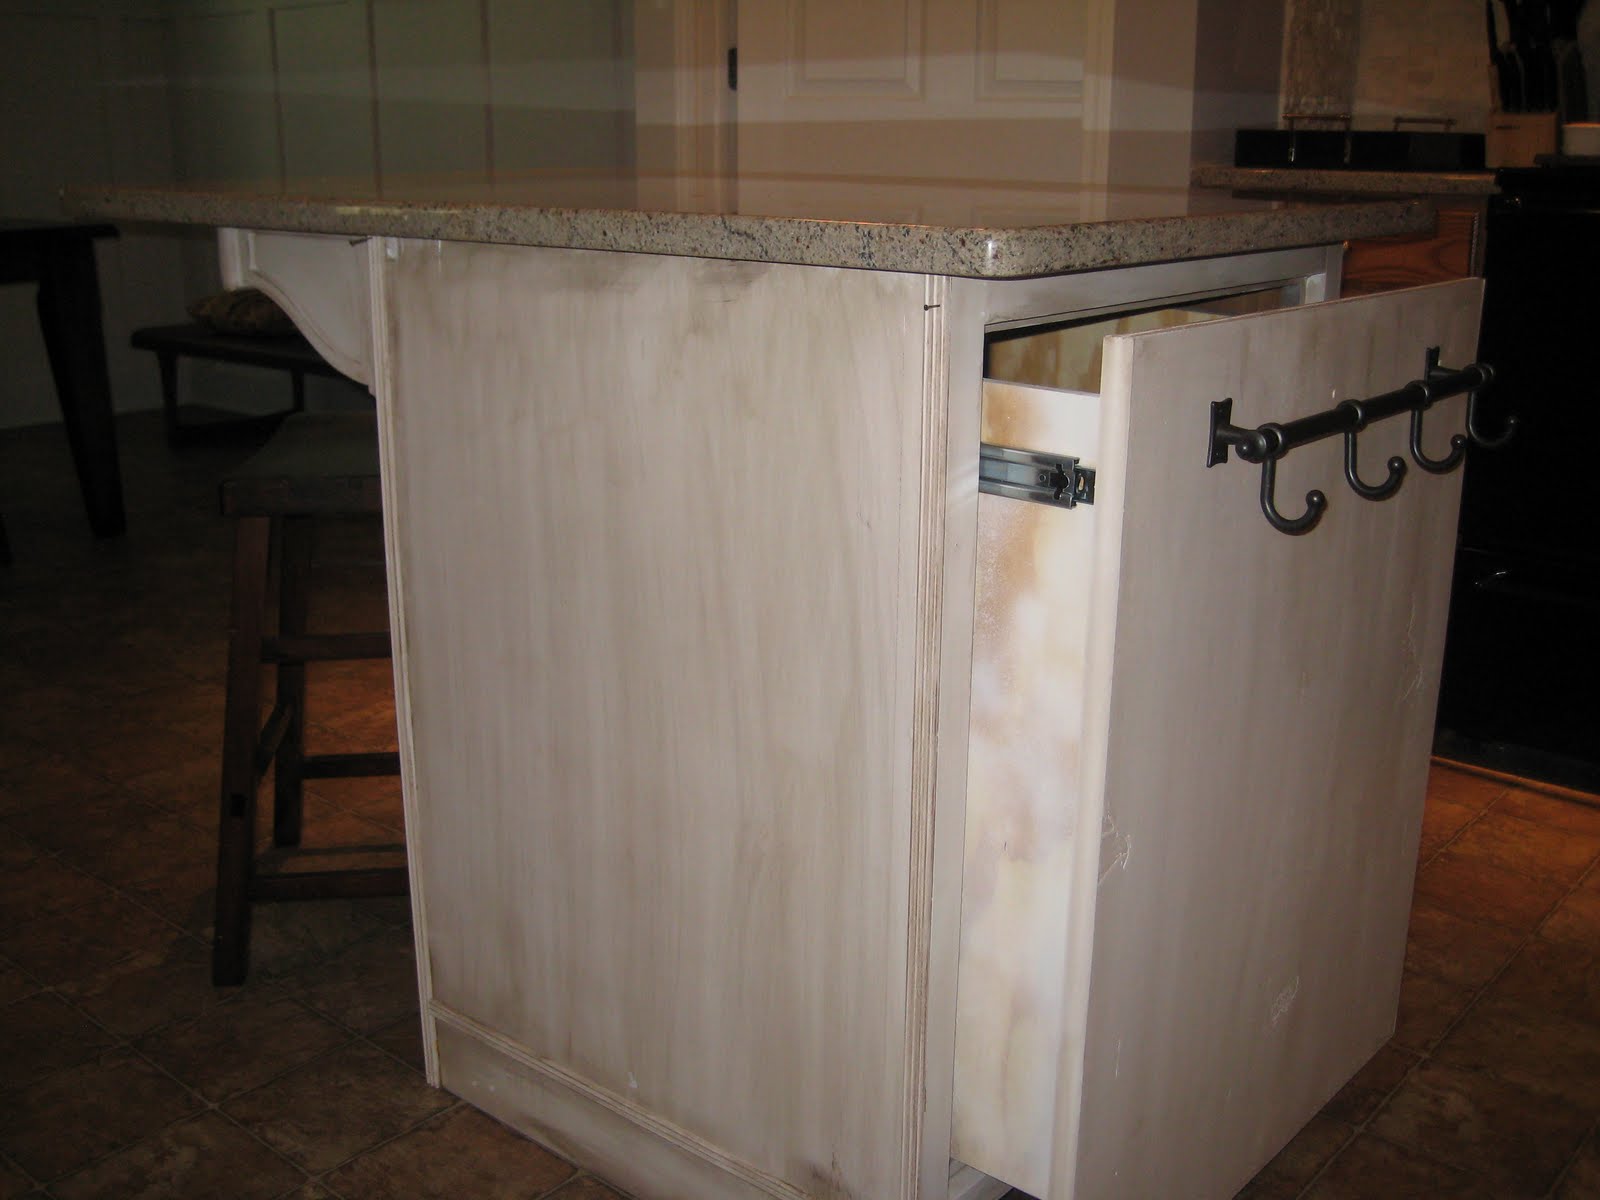

In the previous posts you can see this started out as a $25 bathroom cabinet which we added a base, pull out garbage bin and a granite counter.
Painting:
1. Primed using Kilz.
2. Painted using the lightest of gray.
3. Used low grade sandpaper to rough up the edges.
4. Wiped the entire piece down with walnut stain and then wiped off again.
I do like it! I will love it better when I install the mocha floor.
I would love to add the trim this week, but going out of town...I may try it...
Monday, February 14, 2011
primes and ready for paint...
Today was a good day! I used spray primer because that is what I had in the garage and then did a light sanding . I know I want to add more trim work...this is how I roll...
i


i
Subscribe to:
Posts (Atom)